Kaltura – Adding an Alternate Closed Caption Language to Your Media
We all know that adding Closed Captioning (CC) to your Kaltura video media greatly improves accessibility for your audience. Then, adding a second Closed Captioning choice in another language would make accessibility even better, right?
Following the SRT formatting (see the Alternate Approach at Kaltura – Closed Captioning Editor), you could simply create a second CC file in the desired language and upload it to the media page. This method will work well enough for short videos, but would be time consuming for longer videos.
A quicker method for translating your CC file into another language is to convert the original text into another language using an online translator like Google Translate, Microsoft Translator, or the translation functions found in MS Word. Here is how:
[su_box title=”TIP:” style=”noise” box_color=”#333333″ title_color=”#FFFFFF” radius=”3″ class=””] It is best to start out with a clean and corrected Closed Caption file. If you have not corrected the Kaltura auto generated CC file for your video, you can use the instructions found at this post to find out how: Kaltura – Closed Captioning Editor. [/su_box]Download the Autogenerated CC File
Log into Kaltura and navigate to the media page for your selected video. Under the Actions drop down list, click the Edit button.

On the media details page, click the Captions tab. Then click the download button next to the autogenerated CC file (SRT filetype).

After the SRT file downloads, open it in your local text editor, Notepad for PC and Textedit for Mac.
Convert the Original CC Text to the New Language
Select all of the text in the original file and copy it (CTRL+C for Windows, CMD+C for Mac). Using Chrome (preferred) or your favorite web browser, navigate to https://translate.google.com/. You are presented with the following web interface.
On the left panel, choose the original language. On the right panel, choose the destination language. In this example, I am choosing English as the original language and Spanish as the destination language.
Click into the left panel content area and paste the text that you copied earlier into the left panel. Google Translate instantly translates your source language into the new language located in the right panel.
Copy the text in the right panel and paste it into a new text document (Notepad, Textedit). Review the translated text in your text editor for accuracy, clarity, and correct issues as necessary. I have noticed that the translations of English contractions can cause some errors in translations. Also, in this example, the numeric characters “16” was converted to the alpha equivalent of “dieciséis”. Since 16 was the item number for the CC file, it will need to be changed back to the numeric characters. Notice also that the time stamps were altered a little. The translator added a space after the colon. You will need to perform a global replace to change “: ” to “:”.
Save the new text document using the extension .srt (i.e. spanish.srt)
Uploading the New SRT
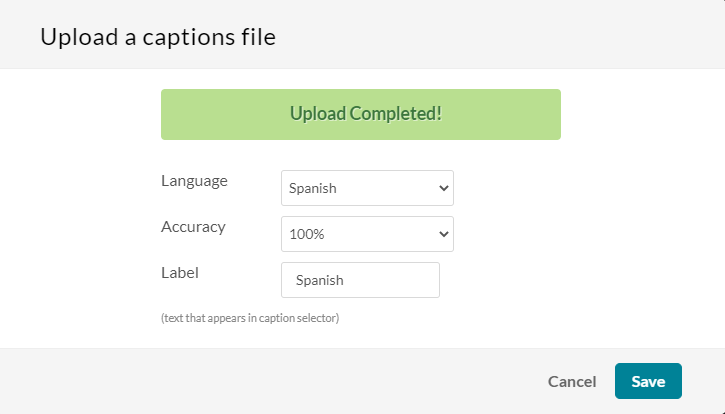
Back on the Kaltura media details page, click the Captions tab and then the Upload captions file button. Select your newly translation file from your hard drive, set the Language, Accuracy confidence, and Label. Click Save.

Once uplodaed, your audience can now choose which CC file will be used while playing the media. You can choose which CC file is used by default by clicking the check mark button on the row containing the desired language file.

I hope that you find this post helpful.
Categories: Accessibility, Kaltura