Kaltura Capture
If a picture is worth a thousand words, imagine how powerful a video tutorial can be.
Kaltura Capture provides an easy way to create a screen capture tutorial (recording whatever is on your screen as you narrate).
You can also choose to include your video as you present.
Kaltura videos are auto-captioned, making them more accessible for everyone.
If you record a PowerPoint presentation, an extra menu is created automatically from your slides, making it easy for students to navigate and jump to those parts of the recording.
Faculty, staff, and students at WFU can create Kaltura Capture videos.
Video Tutorial: How to create a Kaltura Capture
(12 minutes)
 Try a demo: Kaltura Capture with Video
(2 mins)
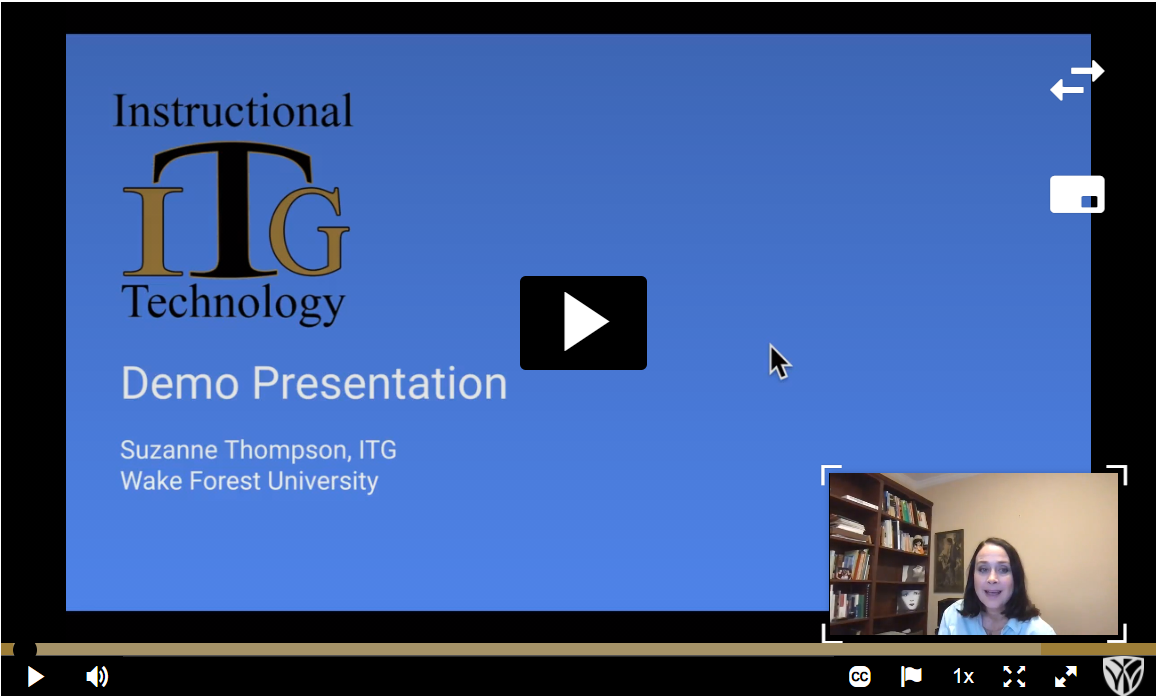
If you record a video as well as your screen, your audience can choose their view settings. Try it out!
–Viewing from a computer: Hover your mouse over the video and click the 2 arrows at the top right to toggle the view.
Click the rectangle to see 3 options: Picture in Picture, Side by Side, or Full Screen.
Depending on which of the 3 options you have chosen, you then click the arrows to toggle within that view.
TIP: When you are viewing a recording in “Picture in Picture” view, you can resize the smaller one, and move it around.
–Viewing from a mobile phone: In the Kaltura App, in landscape view, you can toggle between full screen view of each by tapping the icon of 2 arrows at the lower right. ![]()

Try a demo: Kaltura Capture of a PPT with Video
(2 mins)
If you record a PowerPoint presentation, Kaltura Capture automatically creates a navigation menu with thumbnails of your slides. Try it out!
–Viewing from a computer: Click the PPT slide menu at the top left (looks like 3 horizontal lines). Click a slide to jump to that part of the presentation.
Also, in the Search box at the top of that menu, you can type in a word from a slide header or bullet item, and the menu will find that slide for you.
–Viewing from a mobile phone: In the Kaltura App, in landscape view, access the PPT slide menu by tapping the icon of 3 stacked slides at the top right. ![]() Tap a slide to jump to that part of the navigation.
Tap a slide to jump to that part of the navigation.
Also, in the search box of that menu, you can type in a word from a slide header, and the menu will find that slide for you.
.
Benefits of Kaltura
- Videos are auto-captioned after you upload them, making them more accessible for everyone.
- The captions are also presented as a complete transcript you can read or use for navigation. If you click text in the transcript, it jumps you to that part of the video.
- At WFU, we have unlimited quota in Kaltura.
- Your audience won’t be presented with ads.
- If you record a PowerPoint presentation, thumbnails of your slides are automatically uploaded to Kaltura as an extra navigation menu, and text on your slides becomes searchable in the navigation.
- Kaltura allows you to record, perform basic edits, and share, all with one platform.
Tips
- Try to keep videos short. If you have longer content, you could divide it by topic.
- Do a practice video first, to try out the whole workflow.
- You probably don’t want your Kaltura control buttons to show during your recording.
You can minimize them to your task bar, or if you have an extra monitor you can drag it to that screen. - Faculty, staff, and students at WFU can create Kaltura Capture videos. You might want to consider a project for students in which they create a Kaltura Capture to teach a topic. Teaching others is a great way to learn!
- FYI: To create the How-To video above, I used Camtasia (another screen capture recording tool) at the same time, so I could capture what I was doing in Kaltura.
Learn more
Additional ITG Tutorials about Kaltura
Tutorials on Kaltura’s website
Categories: Kaltura, Online Teaching, Remote Teaching, Uncategorized, Video