A Simple Path to Better Document Accessibility
You’ve probably already heard that accessibility is an important consideration when creating digital content. Content which is created in an adaptable, accessible way is available to a larger audience without the need for special tools or processes to make it available to those with specific limitations or needs. As we all start an exciting new semester in which much of our classes will be online, it’s difficult to fold yet one more requirement into our workflow. The good news is that you’ve already learned how to make your documents very accessible: write an outline.
Remember the common junior high school assignment of writing an outline for our first multi-page paper? Turn the headings in that outline into headings in your document, and you will create a very easy-to-understand document, easy to follow for all your readers, whether they use an assistive technology or not.
Nearly any software you might use to create content, whether it’s Microsoft Word, Google Docs, WordPress or even Canvas allows one to use headings of different levels to guide readers through a document. There are only a couple simple rules to remember:
- Start with Heading 1 – This is the theme of the entire document and tells people clearly what they will find. This often will be the title
- Don’t skip heading levels – Your heading level one should only contain headings of level two, each of which might have within them level three which can contain level four, etc. You will likely have many level two headings, not all of which will have subheadings, but never choose a heading level just because of the way it looks on your screen.
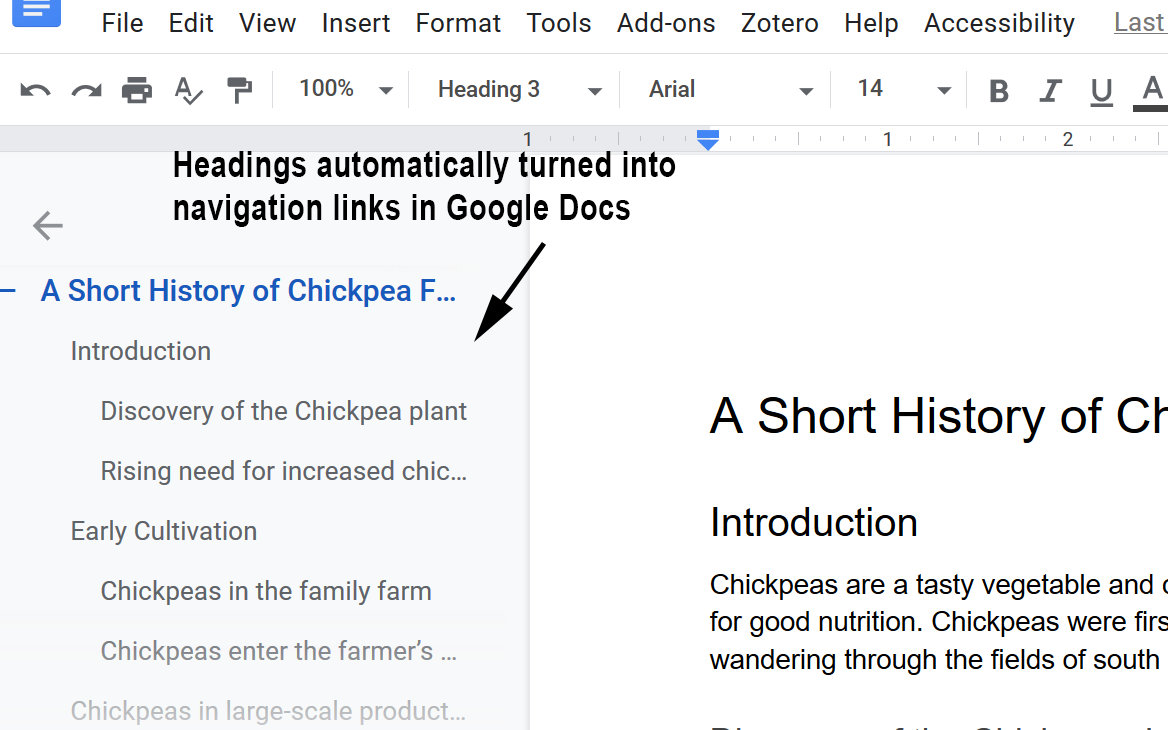
If you take a moment to think about your document as a whole and identify the sections with appropriate headings, your document will be understandable at a glance, whether by a sighted reader scanning the headings or a low-vision reader using a screen reader to jump from heading to heading. Google Docs will even reward you by creating sort of a linked table of contents automatically by showing a list of the headings to the left of your document, each of which links to that spot in the document.
Whether you actually create an outline before you start or just write a bunch of stuff, then double-back to chop it into sections, dividing your document up with hierarchical headings, your document clarity will improve for everyone. (Added bonus: If your document happens to be on a public web page, Google loves headings, too. It makes it easier for Google to deliver your page in search results to those who are searching for content like yours.)
So go forth bravely, creating documents with a robust heading structure and send some happy thoughts to your junior high school teacher!
For more information on improving the accessibility of the content you create, including links to guides on improving the accessibility of Word documents improving the accessibility of your PDFs and lots more quick tips, check out accessibility.wfu.edu and the Accessible Content Working Group.