Problem with the Zoom Browser Extension
I wanted to document a problem I had with the Zoom Scheduler browser extension (Chrome version) recently. This is the addon in Chrome that puts the blue “Make it a Zoom Meeting” button on the calendar entry. You can see an example of this button in this image. On the advise of the WFU Multimedia team I switched to the Zoom for GSuite addon.
The Problem
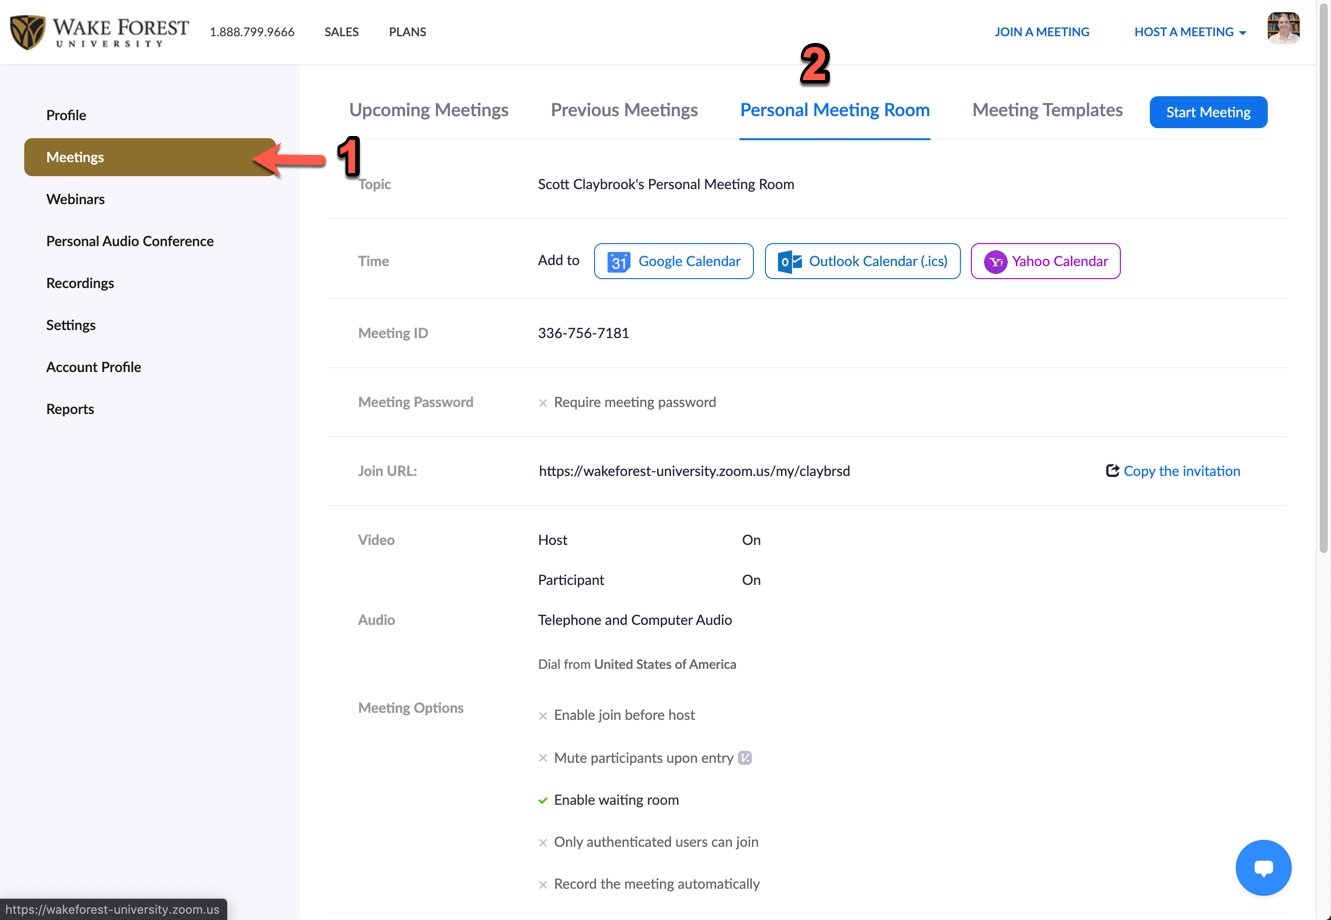
Settings for my Zoom Personal Room kept changing. I would configure them as I wanted them to be and save them. At some seemingly random point, they would change to the prior settings.
I must have changed and saved those settings 10 times. It didn’t seem to matter what changes I made to the room’s settings, they eventually changed back to an older point.
Notes about Zoom settings

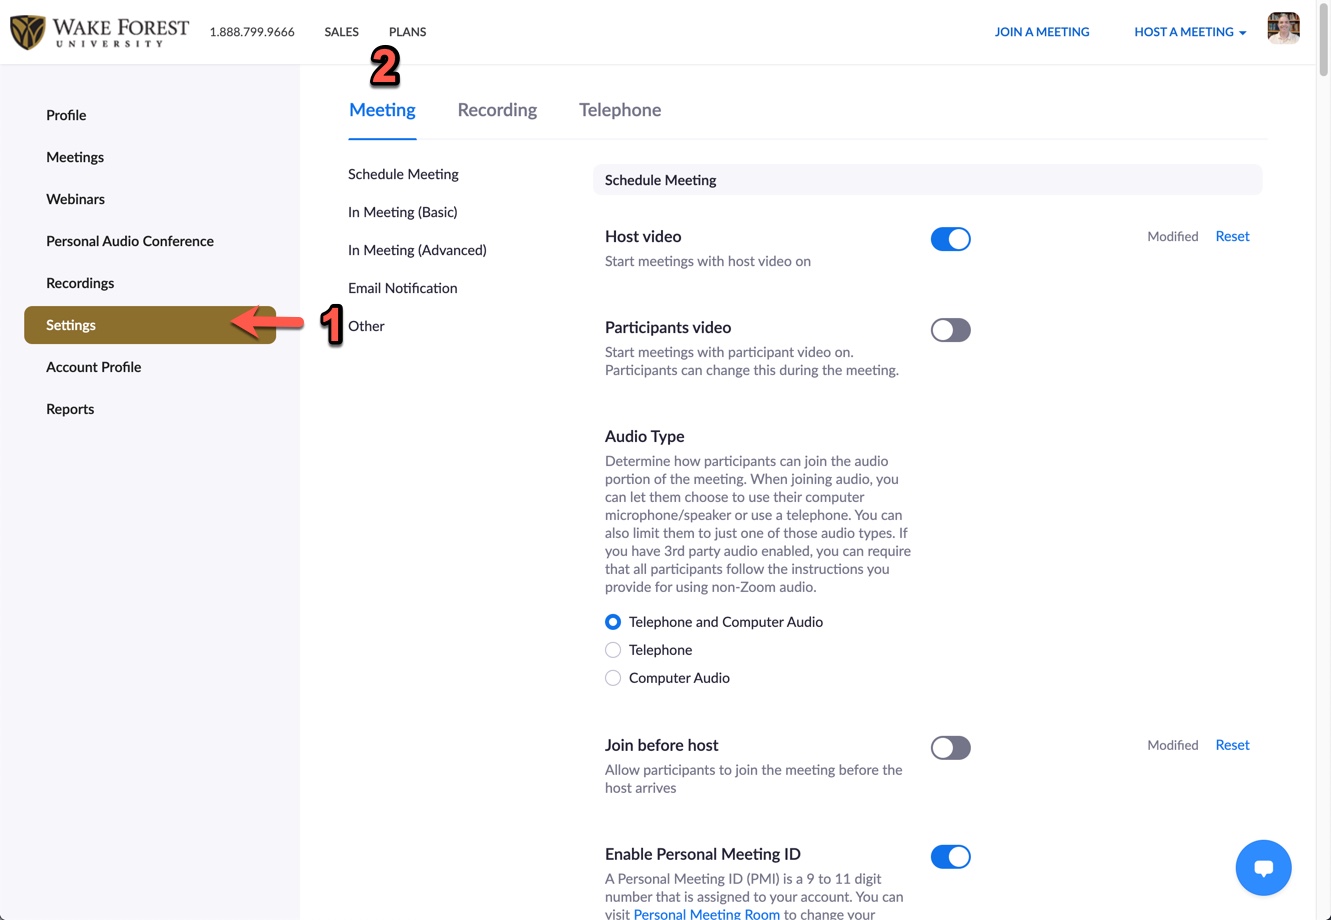
The settings there can differ from the general settings found under Settings > Meetings.
For example, your personal room can have the Waiting Room option turned off even if the Setting > Meeting > Waiting Room is turned on. In that situation, the more specific setting for the Personal Meeting Room overrides the more general setting for all meetings.
Troubleshooting
The WFU Multimedia team and I discovered that the Zoom browser extension for Chrome has a local settings file. Apparently it copies your Zoom settings at the moment you install and authorize the addon.
At least in my case, the addon never updated the local settings file to match my Zoom settings. Whenever I used the addon button, it created a personal meeting using the local (old) settings. Those old, local settings would overwrite the settings on my Zoom account and show up on the Personal Meetings settings page.
The Fix
Remove the Zoom Scheduler Extension from your Chrome Extensions.
- Open Chrome and click the 3 dot, More menu in the upper right corner.
- Click More Tools > Extensions.
- Scroll down until you find the Zoom Scheduler.
- Click Remove and confirm that you want to remove it.
The Replacement
WFU Multimedia suggested the Zoom for GSuite addon.
- Follow the link above and click the Install button.
- Provide your credentials and authorize it
- When it says it has installed, go to your calendar. The tool is installed on the right sidebar. If the sidebar is hidden, there is a small arrow at the bottom right that will show/hide the sidebar.
- Now when you add a meeting, you have the option to make it a Zoom meeting in the Add video and phone conferencing dropdown field.
Categories: Google Calendar, Video, Zoom


